SharePoint is a great way to organize documents – far better than a shared drive – but sometimes it can be a little confusing when trying to upload documents into a SharePoint library. If your company recently updated from an older version of SharePoint, the uploading process might be very different than what you were previously used to; or, if you just started using SharePoint the first time, you might not be aware of the many different ways to upload documents into a SharePoint library.
The nice thing about SharePoint is that there are usually a number of ways to do different things within the software. Uploading documents into a library is one of those functionalities that has multiple ways to do it. Picking the one that is easiest for you can take some experimentation, until you are familiar with the different possibilities available to you.
In my example, I’ll be using SharePoint 365, but these options are also available to you in 2013, 2016, and 2019 versions of SharePoint. It is always nice to have choices, since your preferences help make your everyday tasks easier ,and allow for a more efficient process.
Here are the options:
Drag n Drop
Dragging and dropping documents into the library is probably the most familiar process. However, companies switching from SharePoint 2010 might not know about this upgrade, as SharePoint 2010 did not allow the option. This option can be used for uploading new documents, as well as moving documents from one library to another.
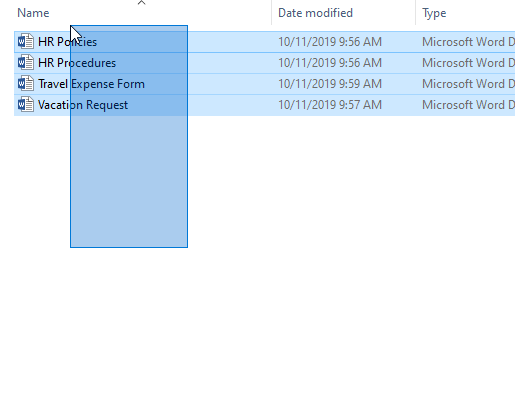
- If you are loading documents from your desktop, select the documents to be uploaded.
- From here, left-click on the documents, and hold down your mouse button and drag them over the top of the library until you see Drop Here… appear in the library.
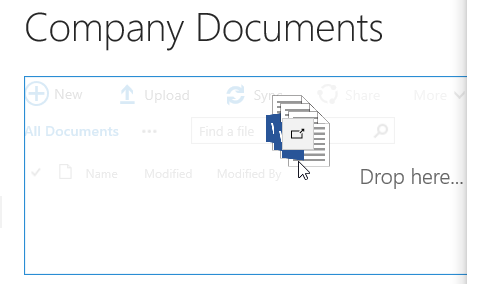
- Let go of the mouse button, and the documents will start uploading.
In some case, depending on your company’s policy, there might be additional steps to tag documents. Check out the Just Tip articles for “SharePoint Metadata” and “How to Use a Quick Edit Menu in SharePoint” for more details about these potential extra steps.
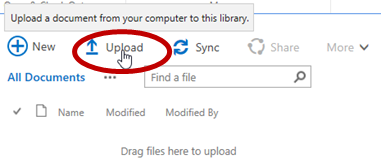
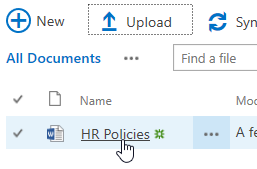
Upload Button
When you enter a SharePoint library, there is a line of commands at the top. One of those commands is Upload. This command allows you to upload one document at a time, which can be helpful in cases where you need to find the document to get it uploaded, or you just have one document to upload in the library. The same additional steps might be necessary, after uploading the document in the library, as the Drag n Drop method, which are dictated by company policies and procedures.
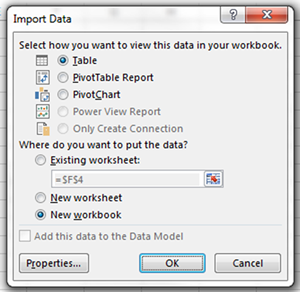
- Once in the library, click the Upload command.
- Once the dialog box appears, click the Browse button and search for your document.

- Select your document, and click the Open button to complete the process of choosing your document to upload.

- Click OK at the bottom of the dialog box, and the document will upload.

Open with Explorer
This last option is only available while using Internet Explorer. It requires the ActiveX functionality, which is only available by using Internet Explorer. This method of uploading is similar to the Drag n Drop method, except you drag n drop into a folder-style window. This can also be used for transferring documents from one library to another, but two folder windows need to be opened at the same time (one from each library) to do this.
- To open the folder window and begin the process, go to the library into which you need to upload documents, and click the Library tab of the ribbon.
- In the Connect and Export group, click the Open with Explorer command.
- A folder window will open for the library, which will look like this:
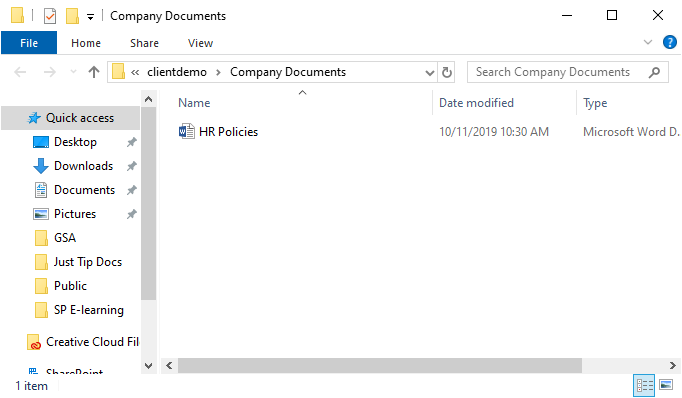
- From here, you can drag n drop documents into the library, or open another folder window from another library, and, using the same steps, transfer documents from one library to another library.
Again, this last option is only available if you are using Internet Explorer, and you might need to go back to the library and do extra steps to complete the uploading process, based on company policies and procedures.