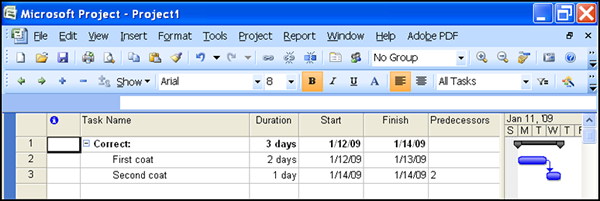
Microsoft Project is a very robust program that allows you to view different views simultaneously, but one of the most popular added views is the Timeline. Typically, the timeline is added above whatever view is already showing, which is typically the Gantt Chart view, and can be easily turned on by following these steps:
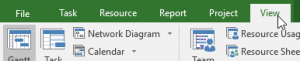
- Click the View tab of the ribbon

- Click the checkbox for Timeline, located in the Split View group

Once you have added the Timeline, you will need to add tasks, as tasks do not auto-populate themselves in the timeline. There are three ways to add a task to the timeline, which are added as follows:
Task Tab Command
- Ensure the task you want to add is selected
- Click the Task tab
- Click Add to Timeline, located in the Properties group, towards the far right side of the ribbon

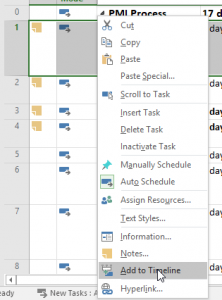
Right-click Task Menu
- Right-click the task you wish to add in the timeline
- Click Add to Timeline, located towards the bottom of the menu
Drag and Drop
- Select the whole task line, of the task to be dropped into the timeline by clicking on the task number
- Left-click and hold the task, then drag it up to the timeline. When the task is dragged up to the timeline properly, the cursor icon will switch to this —
- Release the mouse button and the task will be added to the timeline