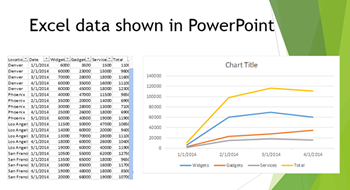
Using Clip Art in your PowerPoint presentation can add interest and help you make your point visually.
Sometimes, however, the Clip Art that you have selected would work better if parts of it were removed or altered in some way. In PowerPoint you can separate the components of basic Clip Art.
Once this is done you can either delete them or re-format them to better fit your needs.
1. Insert the Clip Art and resize it to fit your needs.
2. Select the item and from the ribbon select the Format Tab below Picture Tools.
Note: If this tab does not appear, click on the object to activate the tab.
3. In the Arrange group, click the down arrow next to Group and select Ungroup.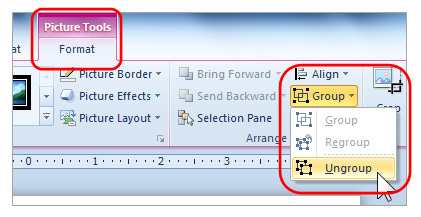
A dialog box will appear, click Yes to Ungroup the picture.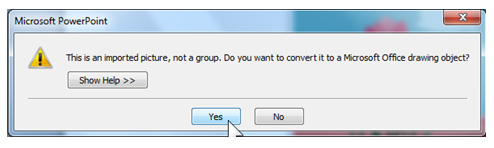
Note: at this stage nothing will appear to have changed. That’s okay, we are going to Ungroup the object again to break it down into its component parts.
4. From the ribbon select the Format Tab below Drawing Tools.
Note: you may notice that the name of the category above the Format tab has changed from Picture Tools to Drawing Tools. This is because the Clip Art is now a group of shapes.
5. In the Arrange Group, click the down arrow next to Group and select Ungroup. This will separate all the parts of your picture so that you can now edit each part individually.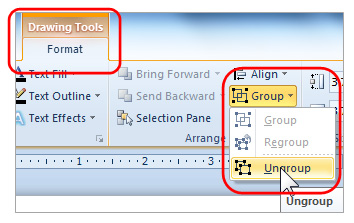
6. All parts of the object will be selected. Click outside the object to deselect everything. This will allow you to click on the items that you would like to delete or modify.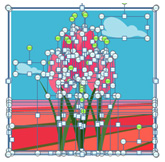
Note: In this example we are deleting all of the objects in the background except the “sky”.  We changed the blue of the “sky”. Once you have made all your changes and deletions you can select all the remaining object and Group them.
7. To Group the remaining objects, Select all of the objects.
8. On the ribbon, click the Format Tab below Drawing Tools.
9. In the Drawing Group, click the down arrow on the Arrange button and select Group. This will combine the remaining parts so that they behave as if they are one object.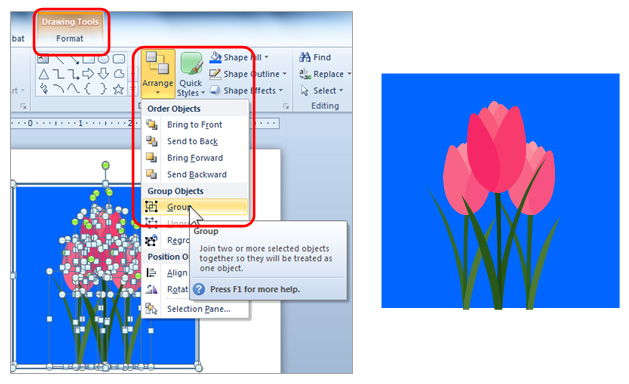
For more PowerPoint techniques see our PowerPoint Classes.